Low-migration printing is no longer a niche requirement. For food, beverage, and pharmaceutical packaging, it is the standard. If you run a narrow-web flexo or offset press, you know the stakes. Poor curing leads to chemical migration. This can contaminate the product and trigger massive recalls.
Achieving a total cure with low-migration inks requires more than just turning on your lamps. It demands a systematic approach to energy delivery, chemistry, and environmental control. This guide walks you through the technical steps to master UV curing control for high-safety label applications.
Understanding the Low-Migration Challenge
Low-migration inks are formulated differently than standard UV inks. They use large-molecule photoinitiators and functional monomers. These components are designed to stay locked within the dried ink film. Because these molecules are heavier, they are less mobile. However, they also require precise UV wavelengths and higher energy density to react fully.
In narrow-web printing, whether you use flexography or offset, the window for error is small. If the ink is under-cured, residual monomers remain. These small particles can migrate through the substrate or transfer to the unprinted side of the label when it is wound on a roll (set-off).
Step 1: Matching Ink Chemistry to UV Output
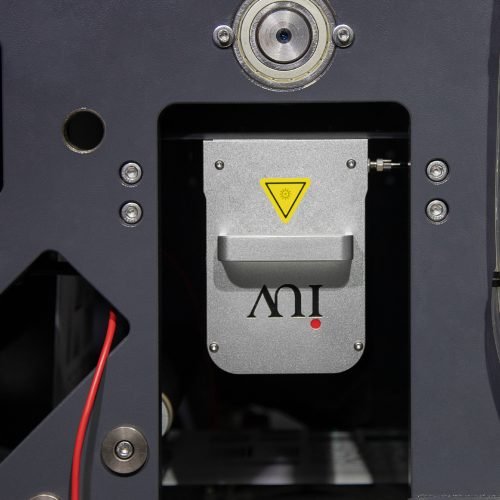
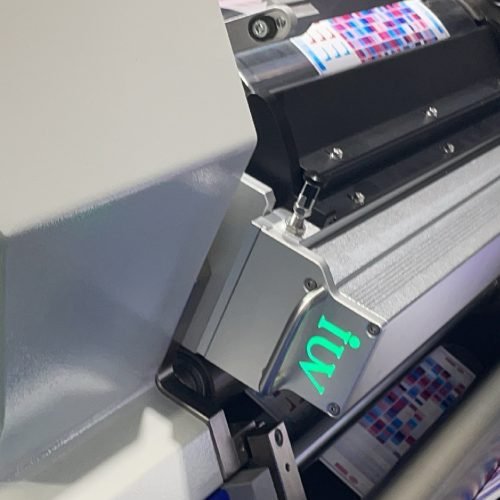
Your first step is ensuring your UV source matches the ink’s absorption spectrum. Traditional mercury arc lamps emit a broad spectrum. LED UV systems emit a very narrow peak, usually at 385nm or 395nm.
If you are using LED-curable low-migration inks, your lamps must provide enough intensity at the specific wavelength the ink requires. Check the technical data sheet (TDS) from your ink supplier. It will specify the required millijoules (mJ/cm²) and peak irradiance (W/cm²).
In offset printing, ink films are thin. In flexo, they can be thicker. Your UV output must be strong enough to penetrate the entire ink layer. If the top cures but the bottom stays liquid, migration occurs.
Step 2: Calibrating UV Dose and Irradiance
You cannot manage what you do not measure. A common mistake in label printing is relying on the percentage power setting on the press console. A 50% power setting does not tell you how much energy is hitting the web.
Use a high-quality UV radiometer. Run it through the press at your actual production speed. You need to measure two specific values:
- Peak Irradiance (Intensity): This determines how well the UV light penetrates the ink.
- UV Dose (Energy Density): This determines the completion of the chemical reaction.
For low-migration inks, the dose is critical. If your press speed increases, the dose decreases. You must establish a “curing window.” This is the range of speed and power where the ink passes migration tests. Document these settings for every job.
Step 3: Optimizing Web Speed and Lamp Synchronization
Modern narrow-web presses use automatic lamp stepping. As the press speeds up, the lamp power increases. However, this relationship is rarely linear.
At high speeds, the “dwell time”—the time the ink spends under the lamp—is extremely short. Low-migration inks often need a slightly longer dwell time to finish the cross-linking process.
If you encounter curing failures at high speeds, consider these adjustments:
- Add a second UV lamp at the final station.
- Slow the press down to increase the UV dose.
- Check the distance between the lamp head and the substrate. A few millimeters can significantly impact irradiance.
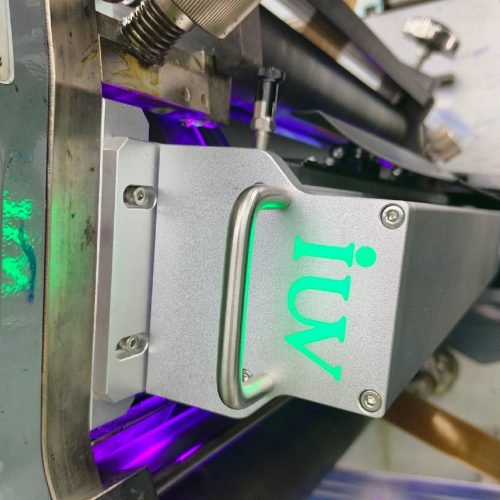
Step 4: Implementing Nitrogen Inerting
Oxygen is the enemy of UV curing. It causes “oxygen inhibition,” where oxygen molecules at the ink surface stop the polymerization process. This leaves a “tacky” surface rich in uncured monomers. These monomers are the primary cause of migration.
In high-end food packaging, nitrogen inerting is the solution. This process floods the curing zone with nitrogen, displacing the oxygen.
- It allows for a much faster and more complete cure.
- It reduces the UV energy required.
- It is often the only way to meet strict migration limits for certain sensitive applications.
If you are running low-migration flexo inks on a narrow-web press, an airtight nitrogen chamber over the UV lamp is a game-changer. Ensure your oxygen sensors are calibrated to maintain levels below 200 ppm (parts per million).
Step 5: Managing Substrate Temperature
Heat is a byproduct of UV curing, especially with mercury lamps. While heat can actually help the chemical reaction speed, too much heat damages thin films and heat-sensitive labels.
In offset printing, excessive heat can change the ink-water balance. In flexo, it can cause the web to stretch. Use chilled rollers (chill drums) to keep the substrate stable.
LED UV lamps are much cooler than mercury lamps. This makes them ideal for heat-sensitive labels. However, even with LED, the chemical reaction itself is exothermic. Monitor your web temperature to ensure you aren’t sacrificing label quality for cure speed.
Step 6: Post-Cure Verification and Testing
You must verify the cure immediately after the web exits the press. While the “thumb test” or “tape test” is common, they are not enough for low-migration standards. These tests only check for surface adhesion, not chemical migration.
Use these professional methods:
- Permanganate Test: This chemical test reveals uncured components on the surface.
- Extraction Tests: Send samples to a lab. They use gas chromatography to measure exactly how many milligrams of material can be extracted from the cured film.
- FTIR Spectroscopy: This measures the conversion of double bonds in the ink. It provides a percentage of how “finished” the chemical reaction is.
For low-migration labels, you must keep a log of these tests for every production run. This provides a “paper trail” for food safety audits.
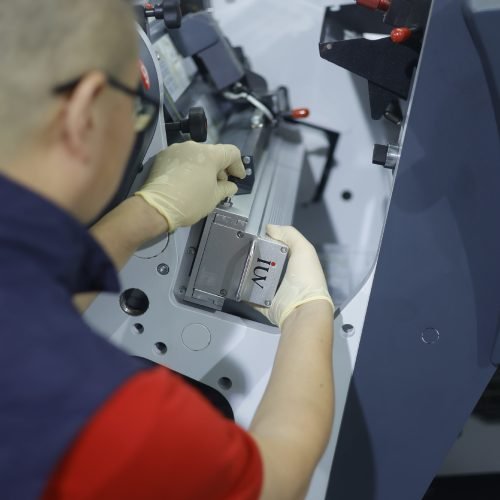
Step 7: Maintaining Equipment for Consistency
UV lamps degrade over time. Mercury bulbs lose intensity and shift their spectral output. LED modules can accumulate dust or ink mist on the protective glass.
Set a strict maintenance schedule:
- Clean the reflectors and lamp glass weekly. Dirty reflectors can lose up to 30% of their efficiency.
- Monitor lamp hours. Replace mercury bulbs before they reach their end-of-life.
- Check the cooling system. If the lamps run too hot, their output drops.
In narrow-web printing, the margin for error is thin. A slight drop in UV output might not be visible to the eye, but it will show up in a migration lab report.
The Shift to LED in Low-Migration Printing
Many converters are moving toward LED UV for low-migration work. LED offers a very stable output over thousands of hours. Unlike mercury lamps, which fluctuate, LED provides the same intensity every day.
This stability is a huge advantage for SEO-conscious manufacturers who want to promote “consistent safety standards.” When your curing source is stable, your migration risks are significantly lowered.
Summary of Best Practices
Control is the foundation of low-migration printing. You cannot guess. You must use sensors, radiometers, and standardized procedures.
Start by choosing the right ink and matching it to a calibrated UV source. Control the environment using nitrogen if necessary. Measure your UV dose at your actual production speeds. Finally, verify the result with chemical testing.
By following these steps, you ensure that your labels are not just beautiful, but safe for the consumer. Low-migration success is built on engineering discipline and consistent monitoring. Whether you are running a flexo press or a high-speed offset line, these principles of UV curing control will protect your brand and your customers.