This guide focuses on diagnosing and solving UV curing issues in label printing, flexographic (flexo) printing, gravure (rotogravure) printing, and narrow web applications. It weaves together practical steps, UV knowledge, and the realities of LED and traditional UV curing. Use it as a repeatable workflow to identify where cure performance is breaking down and how to restore it.
Step 1 — Define the symptoms and establish objective targets
- Start with a precise description of the problem: tacky surfaces, white spots, yellowing, blocking, pinholes, or gloss variance.
- Document where the issue occurs: on all jobs or only at specific colors, plates, inks, or substrates.
- Record operating conditions: web speed, ink viscosity, substrate type, primer or overprint varnish, lamp or LED type, lamp power, and any recent changes.
- Set measurable targets: a minimum UV dose (in mJ/cm²) needed for complete cure, acceptable gloss range, and acceptable solvent rub resistance. Having a baseline makes it easier to recognize when things drift.
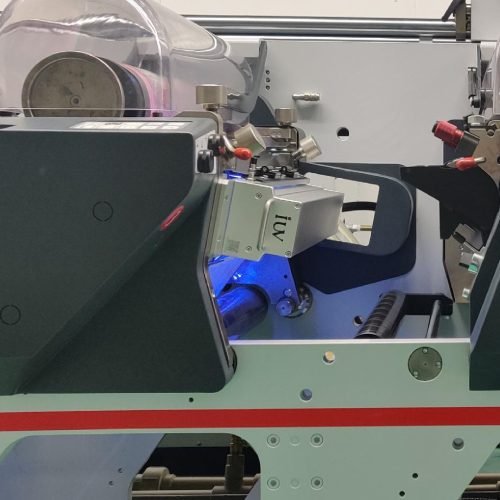
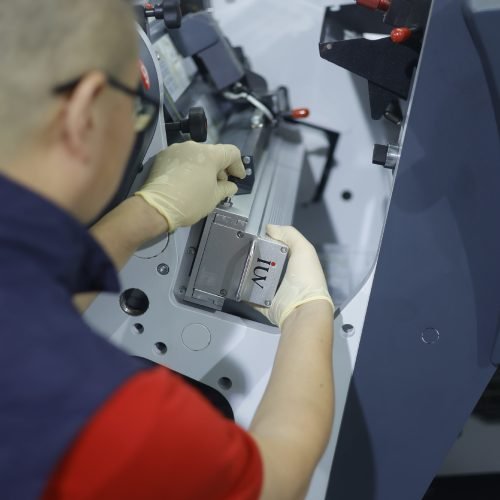
Step 2 — Inspect the UV curing hardware and configuration
- Examine the UV source: whether the line uses mercury arc lamps, UV-LED modules, or a hybrid system. Note age, readiness, and any recent maintenance.
- Check electrical health: in LED systems, verify driver current and uniformity across heads; in arc systems, verify lamp age, arc stability, and cooling efficiency.
- Assess the optical path: inspect reflectors, cooling channels, and any protective shields. Look for dirt buildup, misalignment, or worn components.
- Evaluate the curing window: confirm that the lamp-to-substrate distance is within specification and that any air gaps or rollers don’t shadow the cure zone.
- Record countermeasures: if a head or module shows weak output, mark it for targeted testing rather than a full system replacement.
Step 3 — Quantify the actual UV dose reaching the substrate
- Use a UV radiometer or dosimeter appropriate for your system (LED or mercury). Place the sensor at the substrate surface in the print zone.
- Measure at representative points along the web path to catch nonuniformity. For curved or wide-curtain zones, take readings at multiple angles if possible.
- Note the wavelength compatibility: LED systems often operate at 395–405 nm (and some at 355–420 nm in niche setups); mercury systems cover broader bands but still require dosing that matches the photoinitiator in the ink.
- Compare measured dose to the ink and substrate requirements. A dose below the recommended range typically yields tacky surfaces, while too high a dose can cause embrittlement or surface cracking.
Step 4 — Inspect ink chemistry, viscosity, and substrate compatibility
- Review the ink platform: ensure the ink is UV-curable and formulated for flexo, gravure, or narrow web. Check the photoinitiator type and concentration for your wavelength.
- Evaluate the ink film thickness: overprint layers, heavy solids, or thick white films can block photons and cause undercure beneath the surface.
- Check rheology and curing kinetics: an overly viscous ink or poor wet-out can create uneven film formation, trapping uncured resin.
- Examine additives and overprint varnishes: clear coats or spot varnishes can cure differently than the base ink; interaction with primers can affect cure depth.
- Confirm substrate suitability: label stock (PET, BOPP, paper) often has different optical absorption. A porous or very smooth substrate can shift cure behavior.
- If a recent ink formulation change coincides with cure problems, test an older formulation or a control ink to confirm the effect.
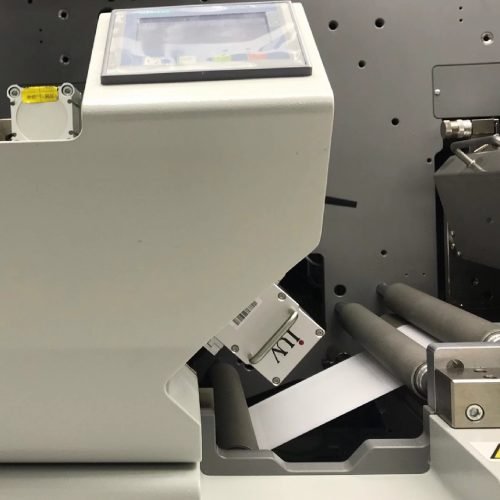
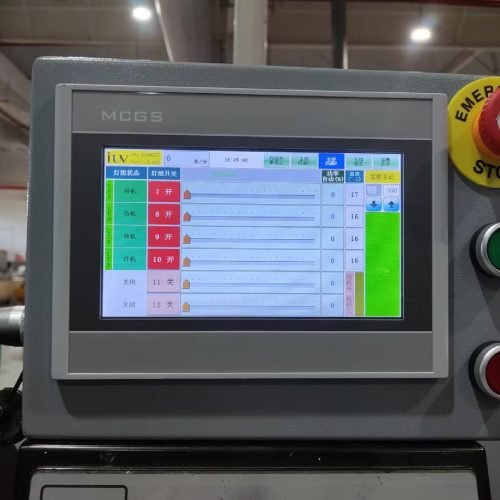
Step 5 — Review the drying/curing zone and process controls
- Check line speed versus dose: running faster reduces residence time under the UV source, potentially yielding undercure.
- Inspect the web path geometry: ensure there are no bottlenecks, misaligned rollers, or tension variations that alter ink film quality during cure.
- Look at cooling and temperature control: UV systems generate heat; inadequate cooling can cause ink flow changes or substrate distortion that affect cure.
- Verify ink transfer and drying interactions: if a pre-dryer or post-dryer stage dries ink too quickly or unevenly, the surface may show incomplete cure underneath.
- Examine process consistency: ensure the same setup is used across shifts; a drift in line speed, lighting, or material lot can create cure variation.
Step 6 — Assess process variables that influence cure depth and surface properties
- Ink film thickness control: measure and document target film thickness for each job. Large differences between runs can explain cure variance.
- Anilox or gravure cell parameters: in flexo, inconsistent metering can yield variable ink film. In gravure, deeper cell volumes may resist cure more than shallow volumes.
- Plate and substrate interaction: plate roughness can affect how ink lays down and how photons penetrate the film.
- Overprint layers: underprint primers, barrier coatings, or varnishes can impede light transmission. Confirm kiln or chamber curing conditions for each layer.
- Environmental factors: ambient temperature and humidity can influence ink viscosity and cure kinetics.
Step 7 — Run controlled experiments to isolate the cause
- Create controlled coupons: print identical coupons that differ only in one variable (dose, substrate, ink, or varnish).
- Vary the UV dose incrementally: test several discrete dose levels to find the cure threshold for multiple ink sets.
- Compare substrates: print on the same substrate with different ink sets or on different substrates with the same ink. Look for a cure pattern that points to substrate or ink interactions.
- Replace one variable at a time: if an ink modification was recent, test the previous formulation as a control.
- Use standardized quality checks: after each test, perform a solvent rub test, a quick tack test, and a gloss measurement to quantify cure quality.
Step 8 — Interpret common failure modes and recommended fixes
- Tackiness across the surface: likely undercure. Increase UV dose, improve lamp/LED output, or reduce ink film thickness. Check lamp heat and cooling.
- White spots or halos: may indicate pigment blocking or photoinitiator inactivation. Verify pigment loading, ink viscosity, and exposure uniformity. Consider changing photoinitiator or adjusting the dose gradient.
- Yellowing or chalking: often a sign of overexposure or poor photoinitiator balance. Reduce dose or switch to a more stable photoinitiator system compatible with the wavelength.
- Embrittlement or cracking after cure: too high dose, substrate stress, or overcure in thicker films. Lower dose or adjust formulation to improve flexibility.
- Blocking or scuffing: cure depth too shallow near the surface, combined with heat. Increase surface cure or apply a compatible overprint varnish with good adhesion.
- Gloss variation with color: differential cure due to pigment absorption or varnish interaction. Calibrate dose for each color and evaluate the varnish cure.
Step 9 — Validate changes with production-ready testing
- Run production-like ballots under revised settings. Include several printed jobs with different colors, substrates, and inks to confirm robustness.
- Measure objective metrics: surface tack, dry-to-touch time, gloss, and rub resistance fall within target ranges.
- Recheck UV dose and uniformity across multiple web zones. Confirm that the cure is uniform from start to end of the job.
- Document outcomes: compile a simple failure-mode matrix linking symptoms to causes and fixes. Use this as a living guide for future runs.
Understanding UV curing systems: LED versus traditional UV lamps
- LED UV systems deliver narrow-band wavelengths (commonly 395–405 nm). They offer instant on/off, cooler operation in some cases, and longer life. They require photoinitiators tailored to their spectrum and can be more sensitive to substrate absorption.
- Mercury arc (traditional) lamps provide broader spectral output and can cure a wider range of inks. They may demand careful filtering, ballast management, and timely lamp replacement due to aging spectral balance.
- Dose planning matters for both: the same cure outcome requires matching wavelength, irradiance, and exposure time to the specific ink chemistry and film thickness. Inflexibility in matching dose to chemistry is a frequent cause of under- or overcure.
Common UV curing failures in label, flexo, gravure, and narrow web printing
- Under-cure in thin or highly pigmented inks: often traced to insufficient dose or poor lamp output. Remedy with targeted dose increases and verify uniform exposure.
- Overcure in coatings or clear varnish layers: leads to brittleness or yellowing. Adjust dose, switch to a photoinitiator with better depth control, or alter varnish thickness.
- Uneven cure across the web: nonuniform lamp output, dirty reflectors, or shadowing due to rollers. Clean, recertify alignment, and verify dosing consistency.
- Substrate-induced cure variability: porous or highly absorptive substrates can steal photons. Tune dose or backside barriers to improve transmission.
- Ink-chemistry incompatibilities: mismatched photoinitiator with LED wavelength; consider reformulating or switching to a compatible ink line.
Best practices for label printing, flexo, gravure, and narrow web UV curing
- Align ink chemistry with the curing source: confirm photoinitiator and polymer chemistry are optimized for the chosen UV wavelength.
- Control ink film thickness: aim for consistent, repeatable film thickness across the job. This reduces cure variance.
- Use inline verification: install simple in-line UV sensors or pilot tests to monitor dose in real time. Quick checks catch drift early.
- Maintain clear substrate communication: ensure supplier data on substrate absorption and overprint primer behavior is current.
- Schedule routine UV system upkeep: clean lamps or LED modules, inspect reflectors, verify cooling, and recalibrate dosimetry on a regular cycle.
- Document changes and outcomes: track any formulation, substrate, or hardware modifications so lessons persist across shifts and teams.
Validation and quality assurance for cured UV systems
- Physical tests: rub resistance, adhesion, and gloss assessments remain practical indicators of cure success.
- Chemical resistance: solvent rub tests validate surface hardness and cure depth.
- Optical tests: gloss and haze measurements help detect cure uniformity issues.
- Process control checks: verify line speed, dose targets, and substrate compatibility remain within defined tolerances.
Safety and operational considerations
- Follow all safety guidelines for UV equipment. Use appropriate shielding, eye protection, and ventilation.
- Keep calibration records for dosimetry tools and ensure operators are trained in how to perform dose measurements reliably.
- Maintain a clean print environment to prevent contaminant ingress into the ink or curing zone.
Conclusion
Diagnosing UV curing failures in flexographic, gravure, label, and narrow web printing requires a disciplined, data-driven approach. Start with symptoms, verify the UV source and dose, examine ink and substrate interactions, and run controlled tests to isolate the root cause. With careful measurement, methodical experiments, and sound process controls, cure performance can be restored and maintained across diverse printing applications.