High-definition digital hybrid printing represents the cutting edge of industrial decoration, merging the precision of inkjet with the robustness of analog processes like flexography or screen printing. This convergence creates stunning visual effects, tactile textures, and functional properties. However, it introduces a formidable curing challenge: how to instantly pin delicate ink droplets without spreading, then fully polymerize thick overprint varnishes or adhesive layers, all within a single pass. A single, high-dose UV blast cannot achieve this finesse. The solution is a meticulously configured multi-stage curing system. This guide details the engineering steps to design and calibrate such a system, ensuring flawless quality, maximum adhesion, and optimal production speed for labels, flexible packaging, and specialty commercial prints.
Step 1: Deconstruct the Process Flow and Define Curing Zones
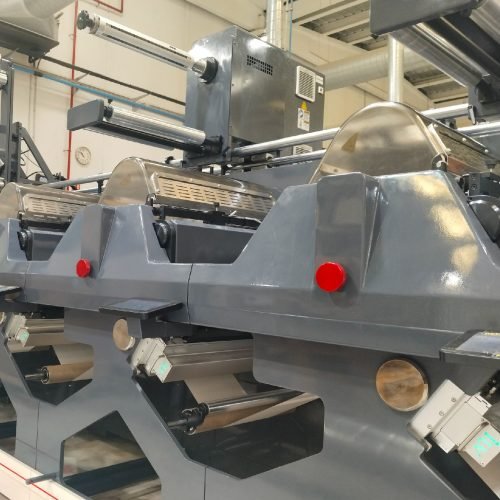
Every hybrid line is unique. Begin by mapping the exact sequence. A typical configuration might be: 1) Digital CMYK inkjet print, 2) Optional primer or white ink, 3) Flexographic spot color or varnish, 4) Screen-printed texture, 5) Cold foil lamination. Each stage has distinct needs. The initial inkjet droplets require immediate but gentle “pin curing” to freeze dot gain and ensure sharpness. A primer may need partial cure to remain tacky for the next layer. A thick screen varnish demands deep, full-power polymerization. Your first task is to define these zones on the line layout. Typically, you will need at least three dedicated zones: a Low-Irradiance Pin/Pre-Cure Zone immediately after inkjet heads, a Medium-Power Intermediate Zone after primer or before foil, and a High-Power Final Cure Zone at the end of the line.
Step 2: Selecting Hardware: LED Types, Optics, and Cooling Integration
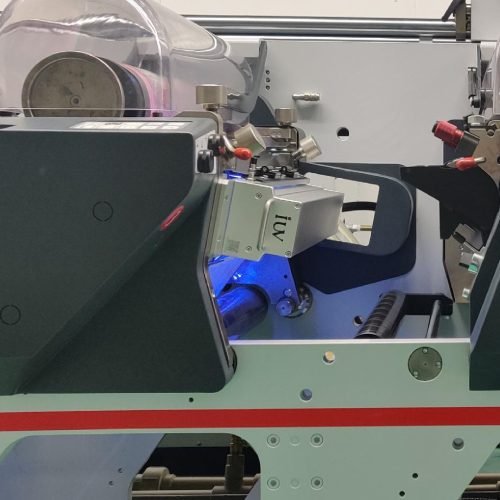
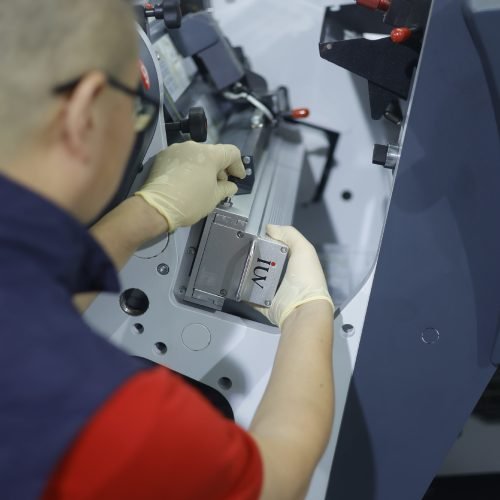
Hardware selection dictates performance. For the pin-cure zone, a lower irradiance LED lamp (e.g., 8-12 W/cm²) with a uniform beam profile is ideal. It provides enough energy to gel the ink surface without causing shrinkage or heat distortion on sensitive films. The final cure zone demands a high-power LED array (≥30 W/cm²) with precision secondary optics to ensure ±3% energy uniformity across the entire web, crucial for consistent gloss and adhesion in wide-format applications. The choice of peak wavelength (365nm, 385nm, 395nm) must be synchronized with your ink supplier. Evidence suggests 385nm offers broader compatibility with various LED and hybrid ink systems compared to the more common 395nm. Given the high thermal load in a confined space, a dual-mode water-air hybrid cooling system is often essential. This design rapidly dissipates heat from high-power LEDs without requiring excessive external plumbing, overcoming a major spatial constraint on press frames.
Step 3: Programming Energy Management and Sequential Timing
With hardware installed, the intellectual work begins: programming the energy profile. This is not about setting static power levels. Modern intelligent systems use real-time print data to dynamically adjust output. For the pin-cure stage, the goal is to deliver the minimum effective dose (typically 1-3 J/cm²) to achieve surface set. The system should modulate power based on line speed to maintain this dose. The intermediate zone may apply a higher dose to solidify the ink film for downstream processing. The final zone delivers the total required dose specified by the ink or coating manufacturer (often 10-20 J/cm²) for complete through-cure. Crucially, the timing between stages matters. There must be sufficient travel distance (dwell time) between the pin cure and the next print station to allow the ink surface to stabilize. This sequential, dose-controlled approach is the core of IUV’s segmented curing technology for digital printing.
Step 4: Validation and Testing: From Lab to Production Proof
Before committing to a production run, rigorous validation is non-negotiable. Create test files that include fine reverses, small text, solid areas, and overprints. Run them on target substrates (e.g., clear BOPP, coated paper, metallized film). Post-cure, conduct a battery of tests:
- Optical Microscopy: Inspect dot edges for feathering or gain. Sharp edges confirm effective pin curing.
- Adhesion Tests: Perform cross-hatch tape tests (ASTM D3359) after final cure. Excellent adhesion on non-porous films validates through-cure energy.
- Surface Hardness & Rub Resistance: Use standard rub testers. A durable surface indicates complete polymerization.
- Intercoat Adhesion: If using primers or multiple layers, test adhesion between coats. Proper intermediate curing prevents delamination.
Only after passing these benchmarks should the configuration be locked in for live jobs.
Step 5: Integration with Press Controls and Smart Automation
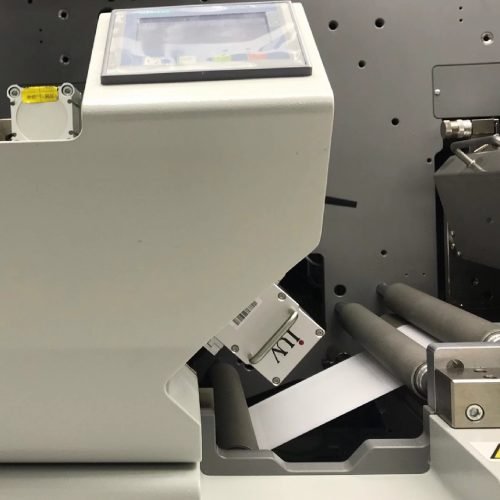
The final step elevates the system from manual to intelligent. The multi-stage curing system should integrate seamlessly with the main press control via standard industrial protocols (e.g., OPC UA). This allows for centralized job recipe management. When an operator loads a “Premium Label” job, the press computer can automatically set the appropriate power levels for each UV zone. Furthermore, smart features like automatic web-width detection activate only the LED arrays covering the printed area, achieving up to 30% additional energy savings. Remote monitoring capabilities enable engineers to track system health, receive over-temperature alerts, and even allow for remote diagnostics by support teams, minimizing potential downtime.
Conclusion: Unlocking the Full Potential of Hybrid Printing
Configuring multi-stage curing is a deliberate engineering discipline, not a plug-and-play task. It requires a deep understanding of photochemistry, mechanical integration, and process control. By systematically following these steps—defining zones, selecting tailored hardware, programming intelligent energy profiles, validating thoroughly, and integrating smartly—converters can master this critical technology. The reward is the ability to confidently run the most complex, high-value hybrid print jobs. You achieve impeccable definition, bulletproof durability, and seamless interlayer adhesion, all while optimizing energy use and production speed. In doing so, you transform your hybrid printing line from a promising concept into a reliable, profit-driving powerhouse for the future of digital decoration.